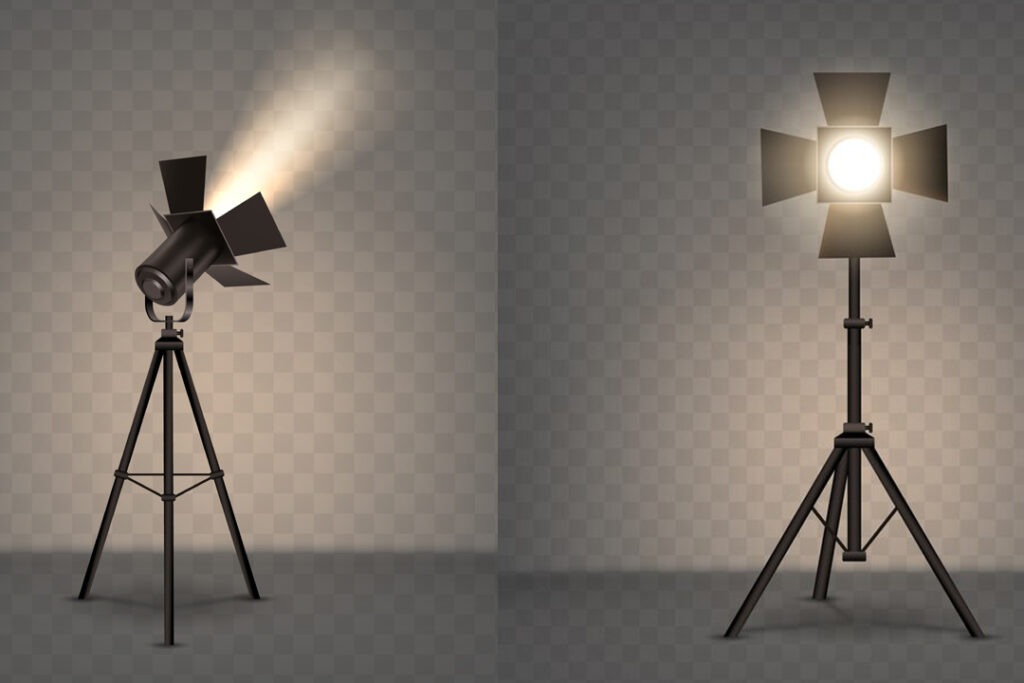
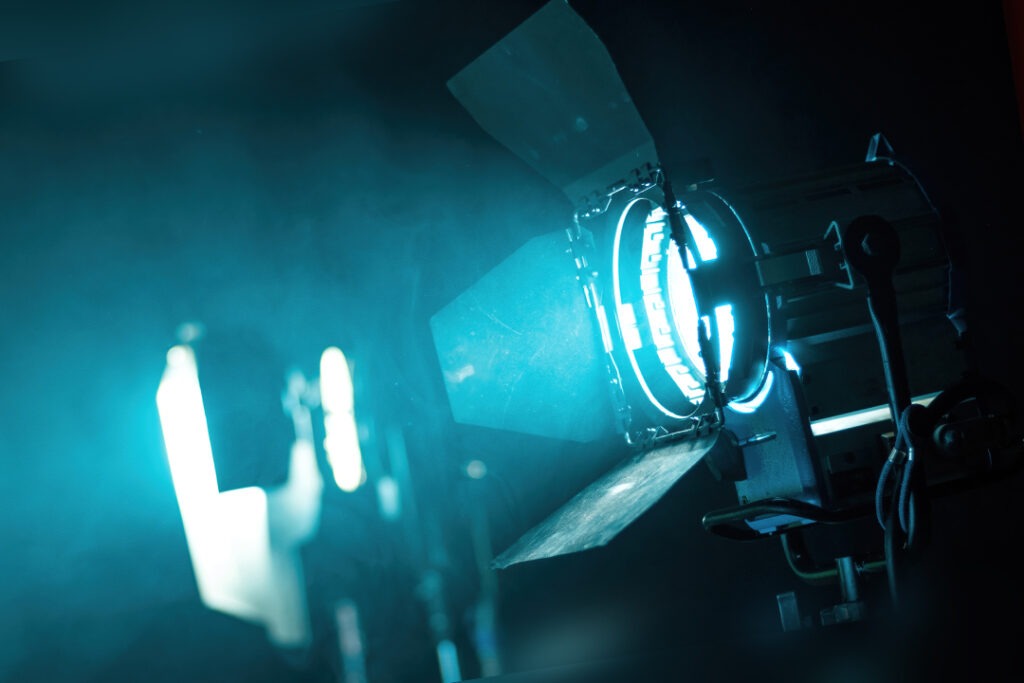
Do you know how the right lighting plays a key role in enhancing product images?

The significance of proper lighting for product photography in enhancing product images cannot be overstated. Well-executed lighting is a magic that transforms an ordinary photograph into a captivating visual masterpiece. It brings out a product’s intricate details, textures, and colors, making it more appealing to potential customers. Shadows are controlled, highlights are accentuated, and the overall image becomes more balanced and professional.
In essence, the right lighting isn’t just about brightness in any image; it’s about sculpting the visual story of a product, making it stand out amidst the digital clutter. Ultimately, it establishes a connection between the product and the consumer, making the image more persuasive and compelling.
Types of Lighting for Product Photography:
When it comes to making your products shine, the type of lighting you choose plays a big role. Let’s dive into the two main types: Natural Light and Artificial Light.
1. Natural Light
Natural light in product photography refers to using sunlight as the primary light source. It’s free, softens shadows, and showcases products authentically, creating a natural and appealing visual effect.
A) Advantages and Disadvantages of Natural Light:
Advantages:
Natural light is the Best lighting for product images. It’s free, readily available, and gives a soft, pleasing glow. It can make your products look natural and authentic.
Disadvantages:
It’s unpredictable – dependent on the weather and time of day. Harsh sunlight might create strong shadows, affecting your photo quality.
B) Tips for Optimizing Natural Light:
- Time Matters: Shoot during the “golden hours” – early morning or late afternoon – for a warm and soft glow.
- Find the Right Spot: Place your products near large windows or in open shade to avoid harsh sunlight.
- Use Reflectors: Reflectors bounce natural light on your product, reducing shadows and enhancing the details of the product.
- By understanding these natural light basics and implementing these simple tips, you’ll capture your products in the best possible light, making them more appealing to your audience.
2. Artificial Light in Product Photography:

Artificial light refers to any human-made light source, such as lamps, bulbs, or flashes, designed to illuminate spaces or objects. Unlike natural light from the sun, artificial light is created using various technologies for specific lighting needs.
A) Advantages and Disadvantages of Artificial Light:
Advantages:
- Controlled Environment: Artificial light allows precise control over lighting conditions, ensuring consistency in different shooting situations.
- Availability: It’s accessible at any time, providing flexibility for indoor shoots regardless of natural light availability.
- Versatility: Various artificial light sources, like softboxes and LED panels, offer versatility in shaping light to suit different product styles.
Disadvantages:
- Heat: Some artificial lights generate heat, potentially affecting the comfort of the shooting environment.
- Cost: Quality lighting equipment can be expensive initially, although it often pays off in consistent results.
B) Tips for Optimizing Artificial Light:
- Diffusion: Use diffusers to soften and spread light, reducing harsh shadows and creating a natural look.
- White Balance: Adjust white balance settings to ensure accurate colors under artificial light.
Positioning: Experiment with different light angles to highlight product features and minimize unwanted shadows.
Strategies for Outstanding Product Images:
Soft Lighting for Smooth Shadows:
-
- Why It Matters: Soft, diffused lighting lessens harsh shadows on your products, ensuring a clearer, more inviting look.
- How to Achieve It: Place your products in natural light or use softboxes for a gentle glow.
Bright Ideas for Stunning Product Images:
-
-
- Balanced Brightness: Keep your product evenly lit to avoid dark or overly bright spots, creating a balanced, professional appearance.
- Try Multiple Lights: Experiment with different light angles and sources to find the perfect mix for your product’s features.
-
Reflectors: Your Product’s Best Friend:
-
-
-
- Adding Highlights: Use reflectors strategically to bounce light onto your product, enhancing its features and reducing shadows.
- Choosing the Right Surface: Pick reflective materials that complement your product, adding an extra layer of visual appeal.
-
-
By mastering these simple tips, you’ll capture your products in the best light, making them irresistible to your customers.
Advanced Lighting Strategies for Exceptional Earring Photoshoots:
Innovative Setups for Specific Products:
- Explore advanced lighting setups tailored to enhance the unique features of earrings.
- For intricate, detailed earrings, consider a three-point lighting setup. Use a key light to highlight the earrings, a fill light to soften shadows, and a backlight for depth.
Creative Lighting Techniques for Unique Shots:
- Delve into inventive ways to use lighting for distinctive earring photographs.
- Experiment with colored gels on your lights for a dramatic effect. Illuminate the background with a complementary color to make the earrings pop, creating an eye-catching and artistic composition.
Remember, experimentation is key to discovering the perfect lighting setup for each unique pair of earrings.
Natural Light vs. Artificial Light for Product Photography: Choosing the Best Option:
- It Depends:
The choice between natural and artificial light depends on product type, shooting environment, and desired aesthetics.
- Hybrid Approach:
Conclusion :
FREQUENTLY ASKED QUESTIONS (FAQs):
1) How many lights do you need for photography?
Ans. The number of lights needed for photography varies based on the desired outcome. One or two lights may suffice for basic setups, while more complex setups for professional studio work might involve several lights for optimal control and creativity.
2)What are some tips for using artificial light sources in product photography?
Ans. When using artificial light in product photography, diffuse the light to soften shadows, maintain proper white balance, and experiment with different light angles. Reflectors can enhance features, and using multiple lights strategically allows for dynamic, well-lit product images.
3) Common Mistakes in Product Photography You Must Avoid?
Ans. Don’t make these common mistakes in product photos. Keep backgrounds simple, use consistent lighting, and take your time with edits. Follow these easy tips for polished, professional images.
Related Articles :
